Provision Environment
Getting your first Cyoda Cloud Free Tier environment is very straightforward. Simply follow the steps below.
Create an Account
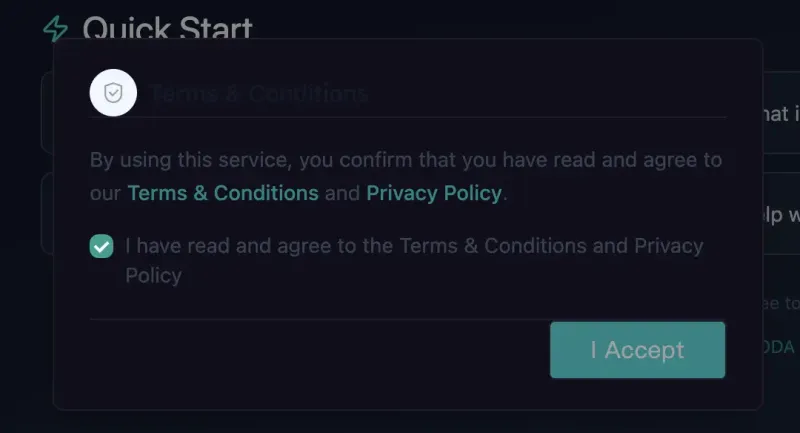
Section titled “Create an Account”- Access the AI Studio: Navigate to the Cyoda Cloud web-based Single Page Application (SPA) at https://ai.cyoda.net and consent to the terms and conditions.
- Choose Authentication Provider: Register using one of the supported providers:
- Google Auth: Sign up using your Google account
- GitHub: Sign up using your GitHub account
- Complete Registration: Follow the Auth0 authentication flow to complete your account setup
- Free Tier Access: Upon successful registration, you’ll be automatically enrolled in the Free Tier subscription
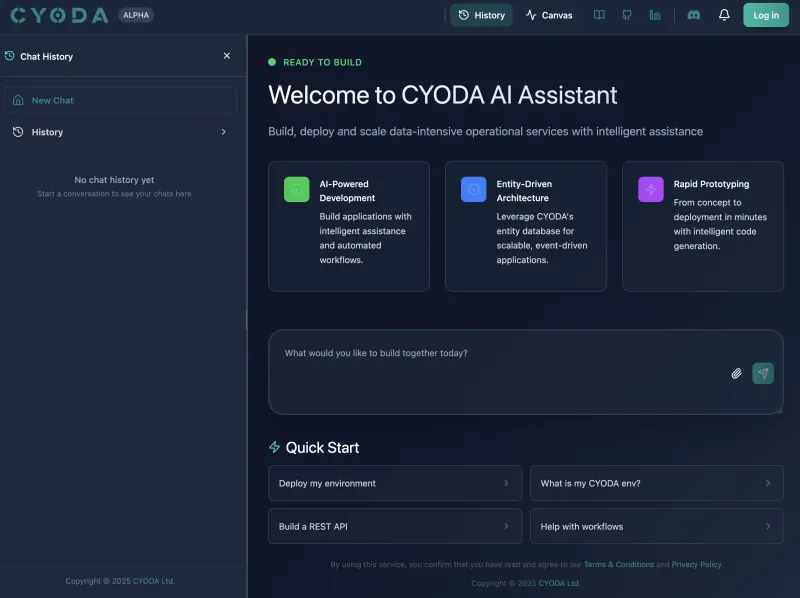
Know your Environment
Section titled “Know your Environment”Prompt in the chat dialogue of the AI Studio with: What is my environment URL?. Wait a bit.
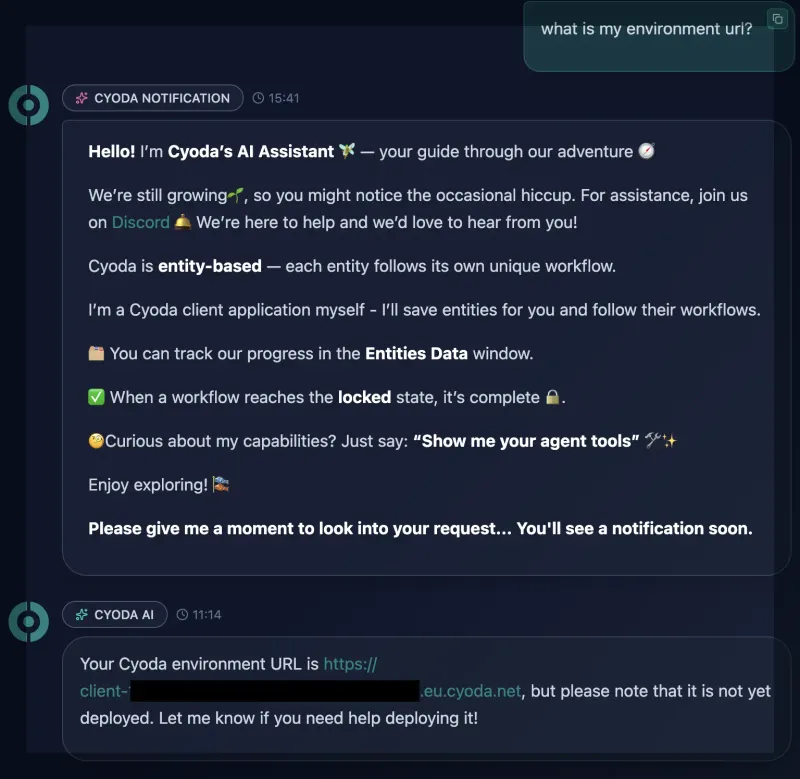
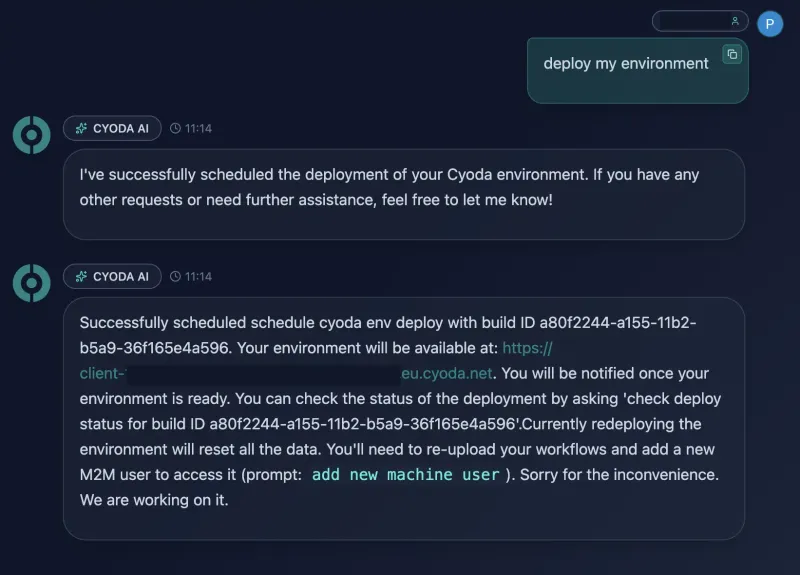
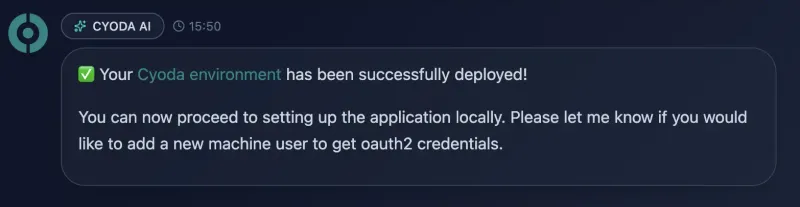
Deploy your Environment
Section titled “Deploy your Environment”Prompt with: Deploy my environment.
Wait for the deployment to complete. It usually takes about 5 minutes.
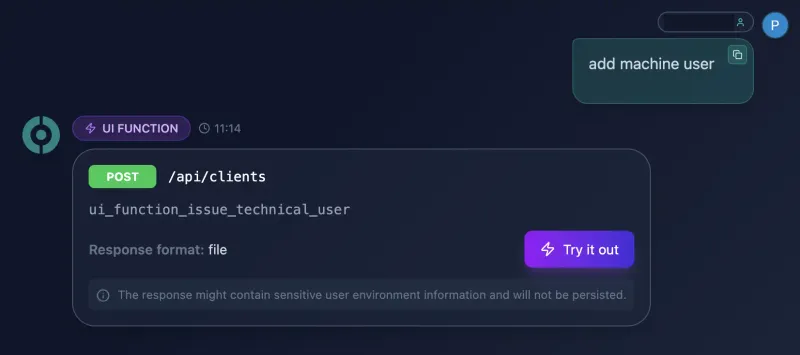
Create a Technical User
Section titled “Create a Technical User”Create a technical user (M2M client): Prompt with: “Add machine user”. You will see a button to launch the query against your env to create a new user. Write down the client ID and secret - you’ll need them to access your environment.
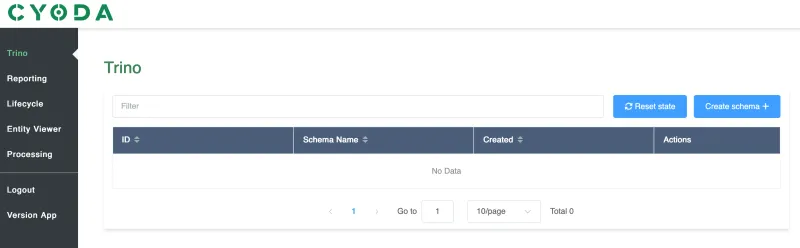
Access the Environment
Section titled “Access the Environment”Once your environment is deployed and you have a technical user, you can access your environment.
Via the Cyoda UI
Section titled “Via the Cyoda UI”Just navigate to your environment URL in your favorite browser at https://client-<your_caas_user_id>.eu.cyoda.net
You can find your environment URL from the previous steps or ask in chat for the url
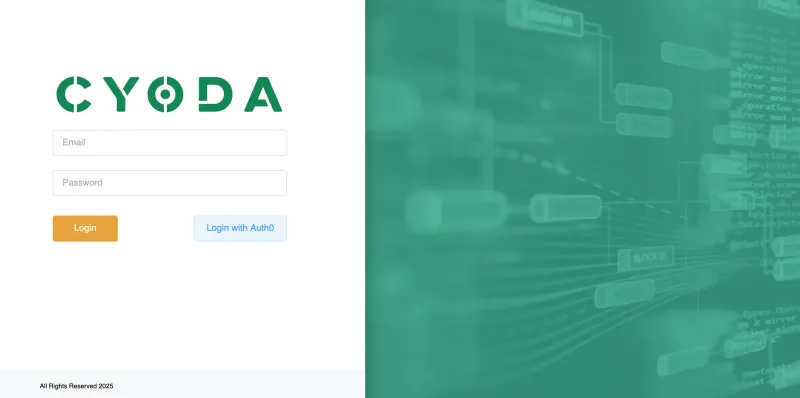
With the Cyoda UI you need to login with your personal via Auth0.
Via the API
Section titled “Via the API”To access the APIs you need to use your technical user credentials to authenticate. See also Connecting for more details